In the Data Source Creation step of the View Wizard, you need to provide the required information for connecting to the selected data source. Each data source type will display settings that are relevant for that data source. Here are some examples:
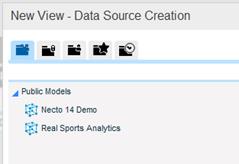
When you choose Necto Models as the data source, the next step of the wizard displays as illustrated in the following figure.
To select a model:
1. Choose a model from public ![]() , private
, private ![]() or a user’s
or a user’s ![]() models. To choose a model from the list of models that are relevant to your work, click the Show Relevant Models
models. To choose a model from the list of models that are relevant to your work, click the Show Relevant Models ![]() button. To choose a model from the list of recently used models, click the Show Recent Models
button. To choose a model from the list of recently used models, click the Show Recent Models ![]() button.
button.
You can use the search box to find a model.
2. Click Finish.
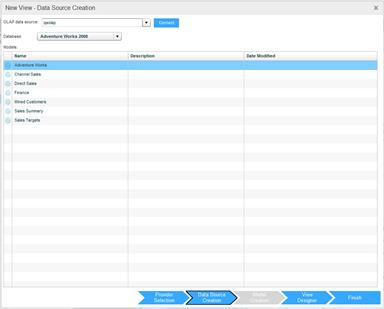
When you choose MSOLAP as the data source, the next step of the wizard displays as illustrated in the following figure.
To choose the data source:
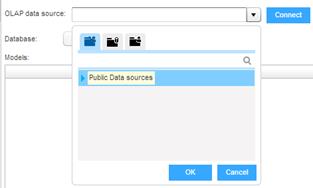
1. In the OLAP Data Source dropdown, choose an OLAP data source and click OK. Click Connect.
2. In the Database dropdown, choose a database.
The cubes will be listed.

3. Select a cube and click Finish.
If the data resides in an Excel file or in a comma-separated (.csv) text file, just select the file.
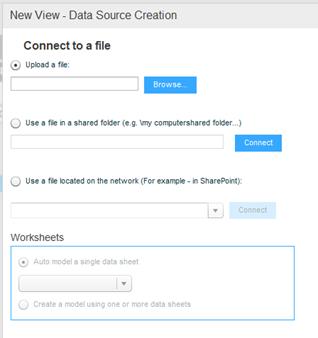
When you choose Excel or CSV as the data source, the next step of the wizard displays as illustrated in the following figure.
To upload a file:
1. Select the Upload a File option.
2. Click Browse to navigate to the location of the Excel or CSV file and select it.
3. In the case of an Excel file with multiple worksheets, choose a worksheet from the Worksheet dropdown.
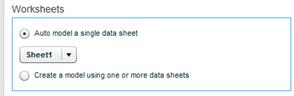
A model will be created automatically based on the selected sheet.
4. To create a model using more data sheets, select the Create a model using one or more data sheetsoption. Then, click Model Creation.
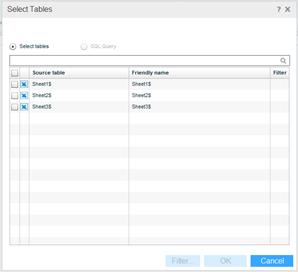
Select the tables you want to include in the model and complete the model creation steps.
To use a file in a shared folder:
To use a file in a shared folder to which Necto will have direct access for current updates, select the Use a File in a Shared Folder option. Specify the file’s path and click Connect.
To use a file in a network:
To use a file in a network like SharePoint, select the Use a File in a Network option. Specify the file’s path and click Connect.
When you choose Reporting Services as the data source, the next step of the wizard displays as illustrated in the following figure.
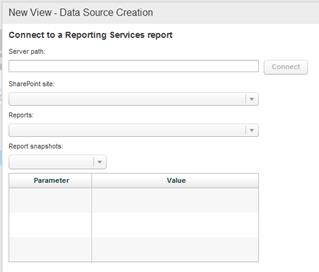
To connect to a Reporting Services report:
1. Enter the Server Path and click Connect.
2. In SharePoint Site, select the SharePoint site where the report is located.
3. In Reports, select a report.
4. In Report Snapshots,select a snapshot. If you want the snapshot to refresh every set amount of time, specify the number of minutes in Invalidate Data Cache After.
5. In the parameters area, enter the parameters and values you want to pass to the view.
6. Click Finish.
When you choose Power Pivot as the data source, the next step of the wizard displays as illustrated in the following figure.

To connect to a SharePoint PowerPivot Excel file:
1. Do one of the following:
- In Enter Server Path, enter the path of the SharePoint server. Then, in Select a Site, choose the SharePoint site, and in Select an Excel 2010 File choose the Excel pivot table.
- In File Path, enter the URL to the Excel pivot table.
2. Click Finish.
When you select the Paste Table option, you can create a view from a table by copying and pasting the table.
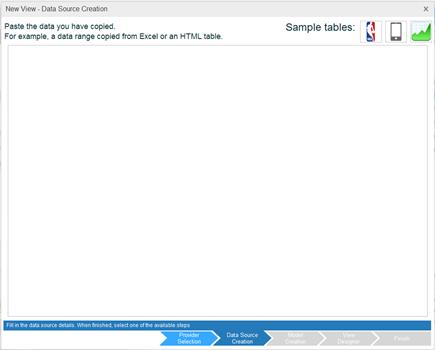
Copy the table (for example, from an Excel or HTML table) you want to use and then click in the dialog box. Now, paste the table.