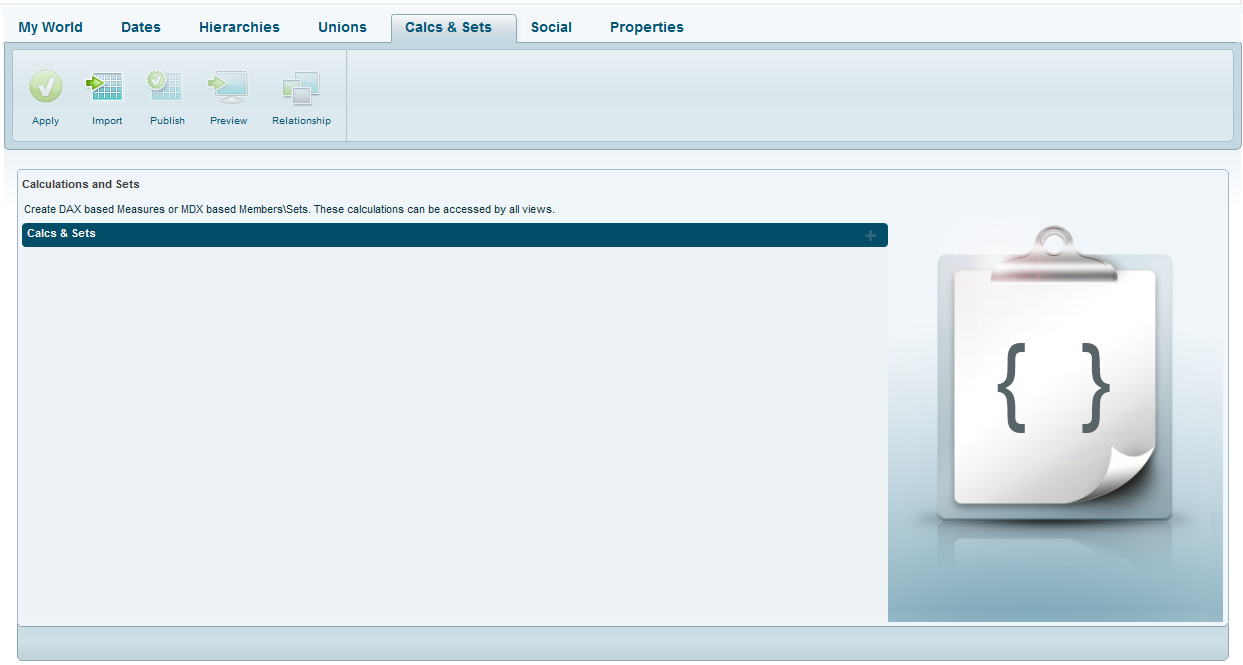
Via the Calcs & Sets tab, you can create calculated measures based on DAX, and calculated measures, members and sets based on MDX.
To create a measure using DAX:
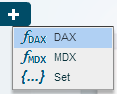
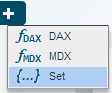
1. Click Add ![]() and select DAX.
and select DAX.
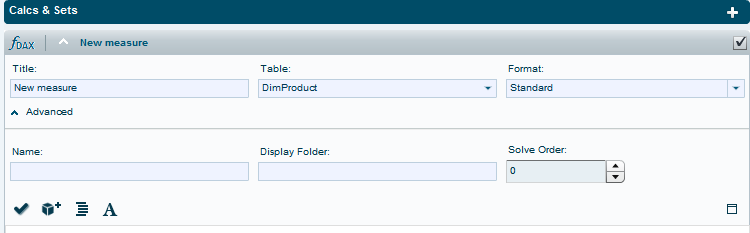
2. In Title, enter the title of the measure you are creating. In Table, select the table under which it is being created and select a Format.

3. Click Advanced to enter more properties: In Name, enter a meaningful name for the measure. In Display Folder you can enter a group name if you are creating measure groups.
In Solve Order, specify the precedence, if required, by selecting a number. When there are multiple formulas affecting the same cell, the precedence determines the order in which the formulas are applied, starting from the calculation with the lowest precedence.
4. Enter the DAX expression in the editing area. You can use the floating window to enter the expression: Click ![]() to open it.
to open it.
To insert an OLAP function, click ![]() . The functions are organized in groups. Tooltips provide descriptions for the available functions. Choose a function and click OK.
. The functions are organized in groups. Tooltips provide descriptions for the available functions. Choose a function and click OK.
To format the expression, click the ![]() button.
button.
To change the font, click the ![]() button. In the font selection window, choose the desired font and font size.
button. In the font selection window, choose the desired font and font size.
5. When you finish defining the formula, click ![]() to verify the formula syntax.
to verify the formula syntax.
6. Click Apply.
The calculated measure will be included in the model when the check mark on the measure tab is selected.
![]()
To create a member using MDX:
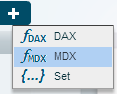
1. Click Add ![]() and select MDX.
and select MDX.
2. In Title, enter the title of the member or measure you are creating. In Table, select the table under which it is being created and in Field choose the column. If you are defining a measure, select Measures in Table. Select a Format.

3. Click Advanced to enter more properties: In Name, enter a meaningful name for the member. In Display Folder you can enter a group name if you are creating member groups.
In Solve Order, specify the precedence, if required, by selecting a number. When there are multiple formulas affecting the same cell, the precedence determines the order in which the formulas are applied, starting from the calculation with the lowest precedence.
4. Enter the MDX expression in the editing area. You can use the floating window to enter the expression: Click ![]() to open it.
to open it.
To insert an OLAP function, click ![]() . The functions are organized in groups. Tooltips provide descriptions for the available functions. Choose a function and click OK.
. The functions are organized in groups. Tooltips provide descriptions for the available functions. Choose a function and click OK.
To format the expression, click the ![]() button.
button.
To change the font, click the ![]() button. In the font selection window, choose the desired font and font size.
button. In the font selection window, choose the desired font and font size.
5. When you finish defining the formula, click ![]() to verify the formula syntax.
to verify the formula syntax.
6. Click Apply.
The calculated member will be included in the model when the check mark on the member tab is selected.
![]()
To create a set:
Click Add ![]() and select Set.
and select Set.
Follow the steps for creating a member using MDX above.