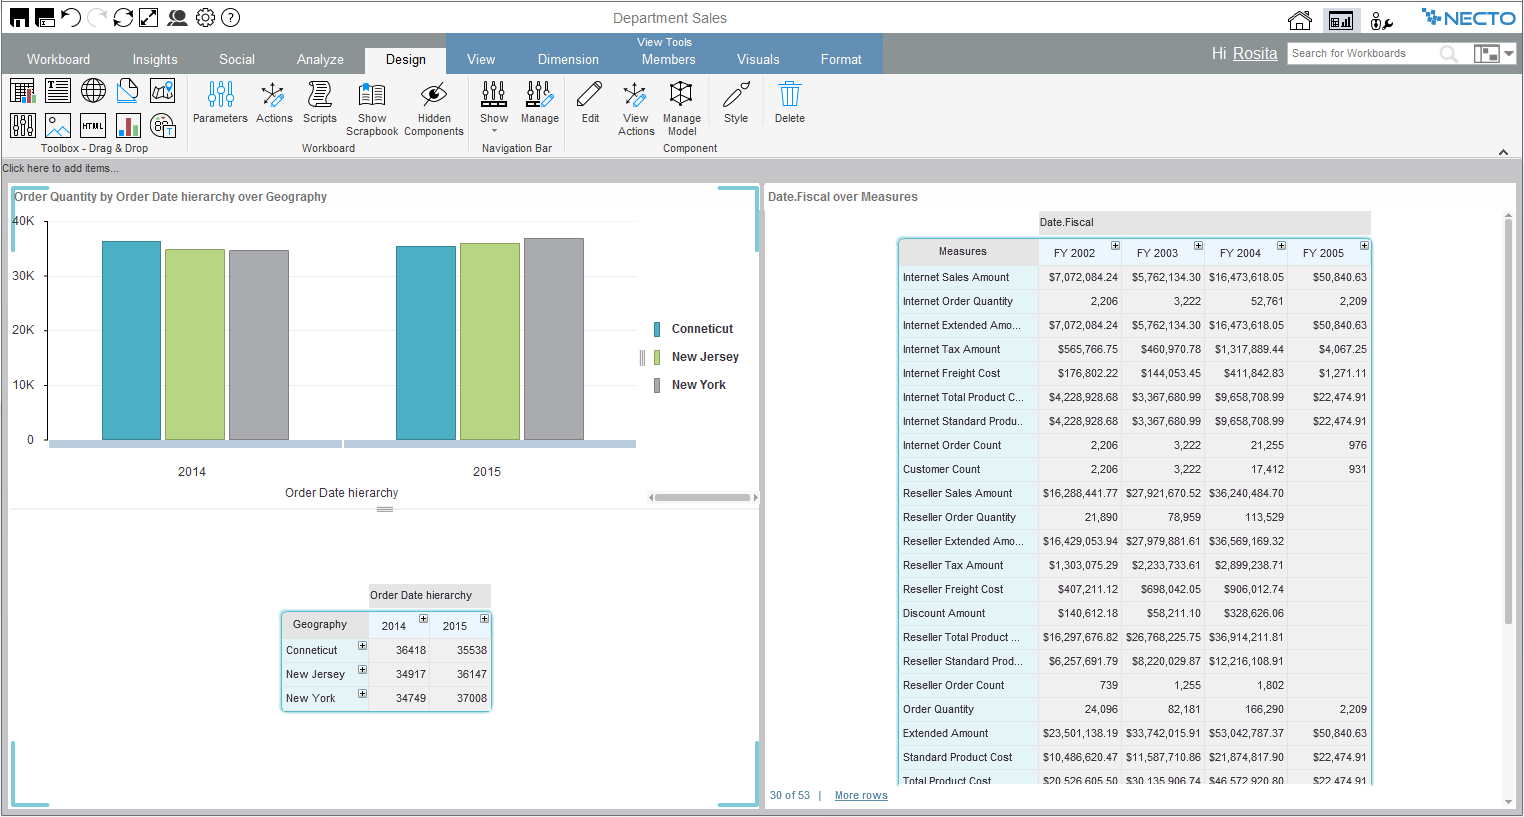
When you drag the View Component ![]() icon from the Toolbox on the Design tab of the ribbon to the desired area on the workboard, the View Wizard opens for populating the component with a view, either by choosing an existing view or by creating a new one. The View Wizard is also activated by selecting the relevant view component and clicking the Edit
icon from the Toolbox on the Design tab of the ribbon to the desired area on the workboard, the View Wizard opens for populating the component with a view, either by choosing an existing view or by creating a new one. The View Wizard is also activated by selecting the relevant view component and clicking the Edit ![]() button on the Design tab of the ribbon.
button on the Design tab of the ribbon.
You can replace the view in a view component by activating the View Wizard and choosing another view or creating a new one.
To place an existing view in the view component:
1. Click Select View.
2. Use the buttons at the top to display the Public ![]() , Private
, Private ![]() or other user’s
or other user’s ![]() workboards. Expand the workboard where the view is located.
workboards. Expand the workboard where the view is located.
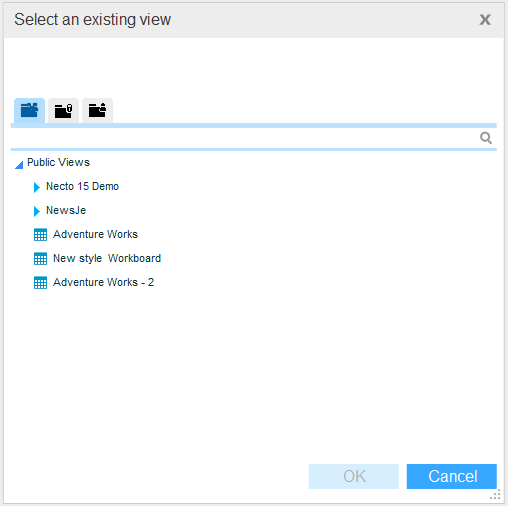
3. Select the view and click OK.
The view appears in the component.
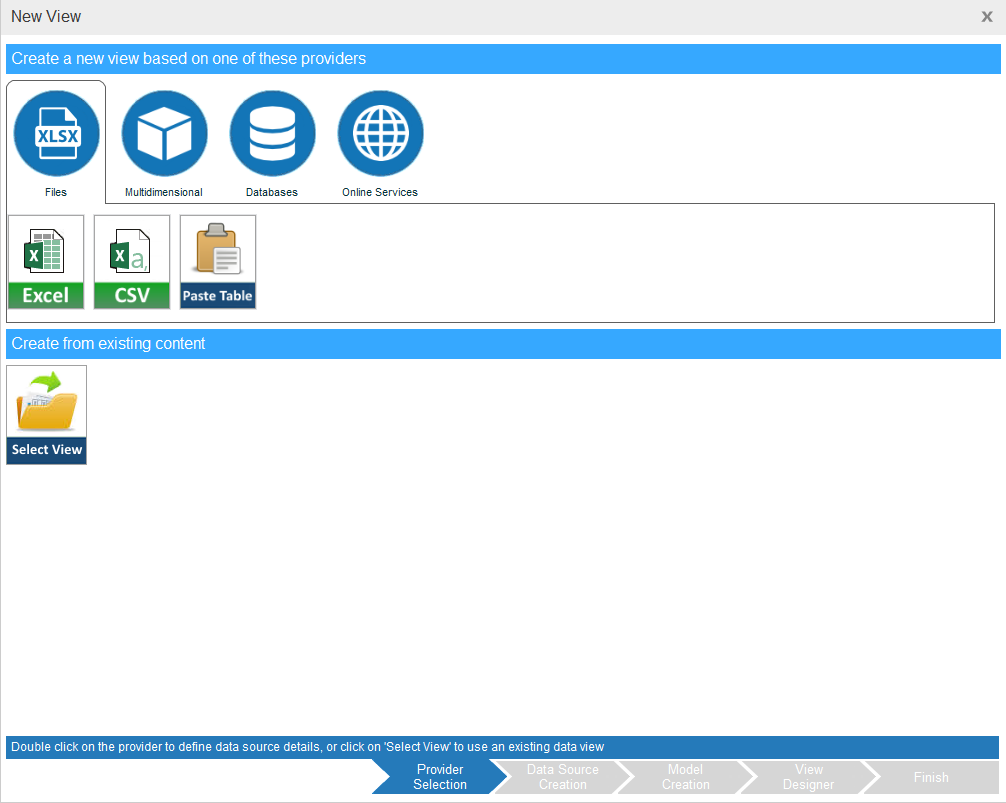
The View Wizard enables you to connect to a data source and create a new view from scratch.
To create a new view:
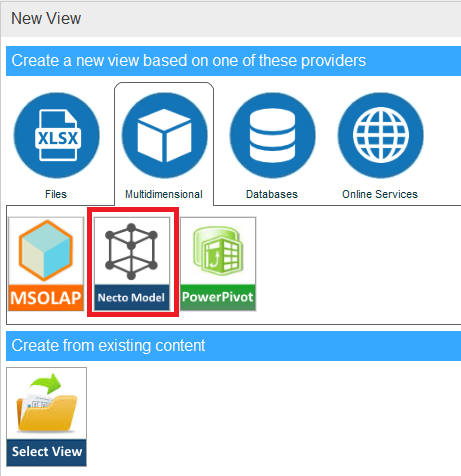
1. In the Provider Selection step, select a provider type and then the data source type, and click Data Source Creation. Or, just double-click on the data source type to move to the Data Source Creation step.
2. The Data Source Creation step displays settings that are relevant for the selected data source type. Enter the required settings.
The Paste Table option in the Provider Selection step enables you to copy and paste a table, and use it as a data source.
3. Click View Designer (optional step).
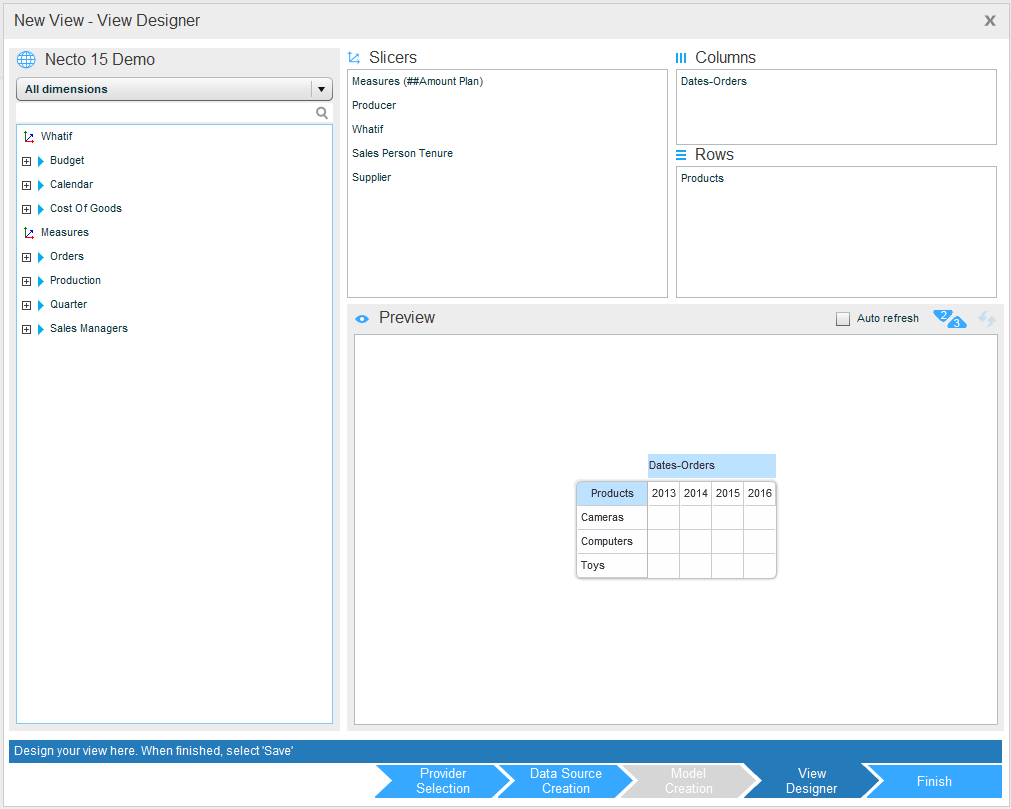
To use the options in this window, see Using the Dimensions Selector in a View Component.
4. Click Finish.