In this step of the Data Source creation wizard, you need to provide the required information for connecting to the selected data source. Each data source type will display settings that are relevant for that data source. Here are some examples:
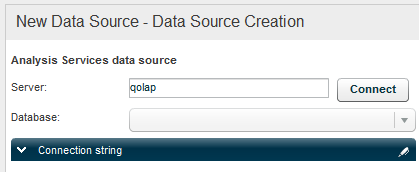
When you choose MSOLAP as the data source, you need to create a connection to an Analysis Services cube by configuring the following settings.
Server
Enter the name of the Analysis Services database server and click Connect to connect to the server.
Database
Choose a database to access from the dropdown list.
Connection String
Click on the Connection String tab to display the connection string to the database.
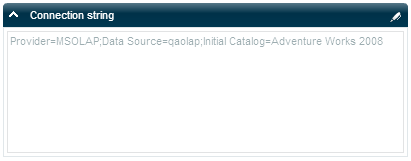
In most cases the generated connection string requires no editing. However, if you wish to make any changes or add an option, click Edit ![]() to open the Connection String Editor.
to open the Connection String Editor.
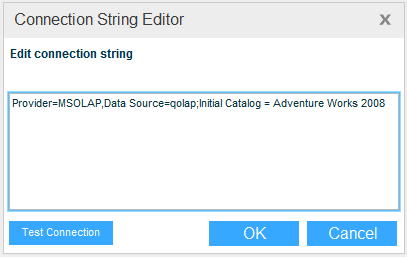
Edit the string and click Test Connection to test the connection. The system indicates whether or not the connection is working.
Click OK.
When you choose SQL Server or another dynamic database such as SQL Azure, you can create a data source from a relational database.
Provide all the necessary information to connect to a relational database query a subset of data. Note that mandatory entries are indicated in red.
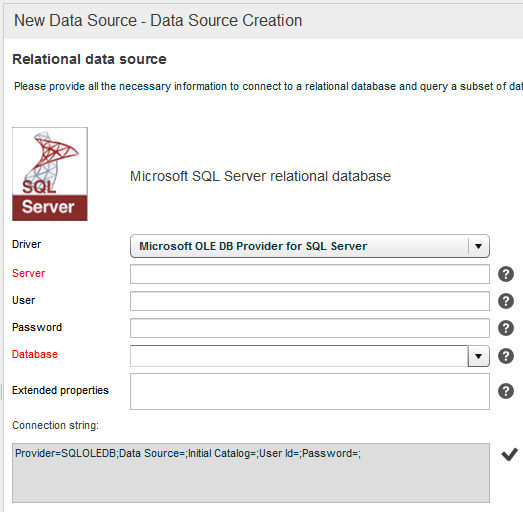
Driver
Select the compatible driver (installed on the Necto server) for the provider. Example: Microsoft OLE DB Provider for SQL Server.
If you haven’t installed the driver yet, use the button next to this field to perform the installation.
The driver must be installed both on the Necto server and the In-Memory engine server (if it is a different server from the Necto server).
Server
Enter the database server instance.
Additional Properties
Enter the User Name and Password, and additional properties for each type of data source, in order to create a valid connection string.
Database
From the dropdown list, select a database to access.
Extended Properties
Additional connection string properties that are needed, and that do not exist in this dialog box. These properties need to be entered in a valid syntax: “Parameter=Value; …”
Connection String
The connection string to the database built from the properties you have supplied.
Click ![]() to verify the connection string syntax.
to verify the connection string syntax.

Click Next to continue to saving the data source.
When you select the Excel or CSV File option you can create a data source from an Excel file or a comma-separated (.csv) text file.

You can use the sample Excel file to see how a view is created based on an Excel file: click on the sample and follow steps below.
To upload a file:
1. Select the Upload a File option.
2. Click Browse to navigate to the location of the Excel or CSV file and select it.
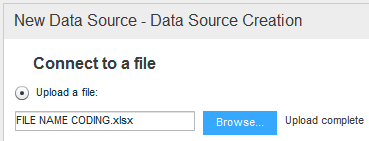
3. In the case of an Excel file with multiple worksheets, choose a worksheet from the Worksheet dropdown.
4. Click Finish.
To use a file in a network:
To use a file in a network like SharePoint, select the Use a File in a Network option. Specify the file’s path and click Connect.
To use a file in a shared folder:
To use a file in a shared folder to which Necto will have direct access for current updates, select the Use a File in a Shared Folder option. Specify the file’s path and click Connect.
When you select the Reporting Services option, you can create a data source from a Reporting Services report.
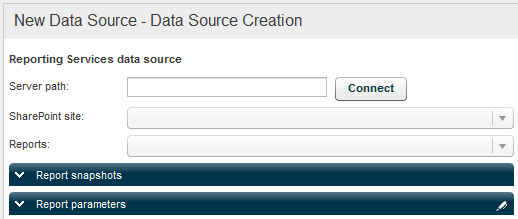
Server Path
Enter the path to the Reporting Services server and click Connect.
SharePoint Site
Select the SharePoint site where the reports are located.
Reports
From the dropdown list, select a report.
Report Snapshots
Click on the Report Snapshots tab and select a snapshot.
If you want the snapshot to refresh every set amount of time, specify the number of minutes in Invalidate Data Cache After.
Report Parameters
Click on the Report Parameters tab to define the parameters to pass to the view.
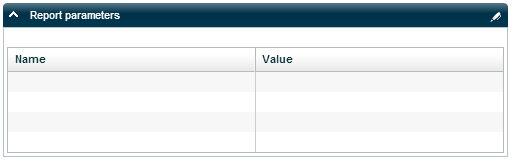
Click Edit ![]() to open the Manage Parameters dialog box.
to open the Manage Parameters dialog box.
Click the Add ![]() button. Enter the parameter name and the default value. Repeat this for each additional parameter. Click OK.
button. Enter the parameter name and the default value. Repeat this for each additional parameter. Click OK.