Time structures such as day, month and quarter are essential for effective analysis. Usually, this information is stored in a single field but a time hierarchy needs to be set up for analysis. You can build multiple hierarchies if required. For example, for a retail business model you might want to create a time hierarchy using sale time and delivery time. You can also build a fiscal date hierarchy with a starting month other than January.
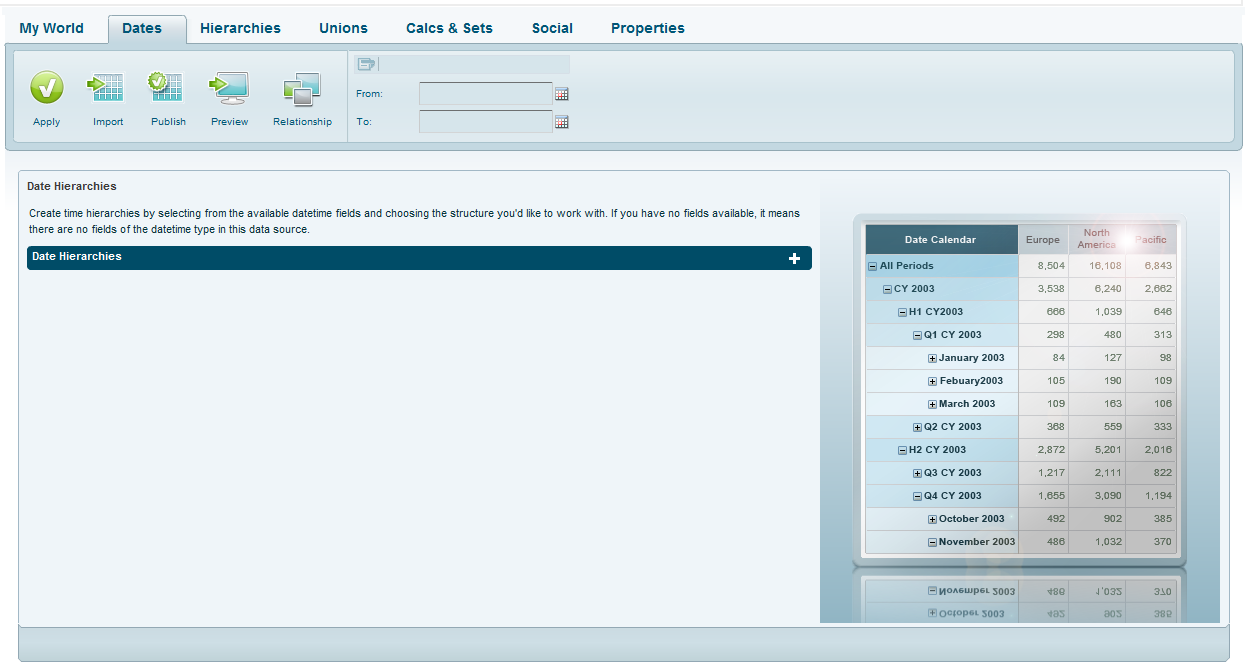
Click the Dates tab to define date and time hierarchies. This tab will show the table columns from My World that are of datetime type. If no columns display in this section, it means there are no datetime fields in the tables imported from the data source.
To define a time hierarchy:
1. Click Add ![]() .
.
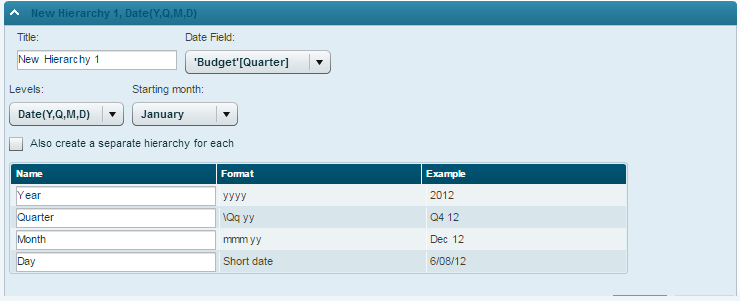
2. In the New Hierarchy tab, enter a Title for the new time hierarchy. The title should not contain the string “name” and neither the signs * or \.
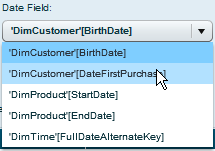
3. In Date Field, select the datetime field from which you want to create a hierarchy.
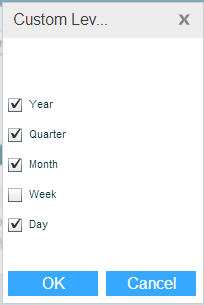
4. In Levels, select the hierarchy level. If you select Custom, you can choose the levels you want from the Custom Levels dialog box.
5. In Starting Month, choose the first month of the hierarchy. For example, for a fiscal date hierarchy starting in March, choose March.
6. Select the Also create a separate hierarchy for each option in order to create a separate dimension for each of the levels.
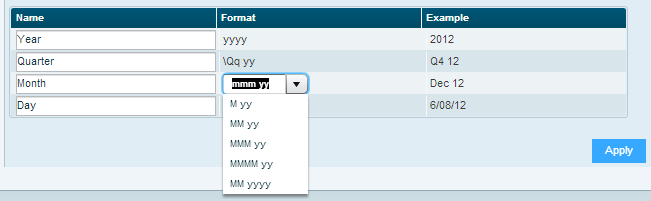
7. In the hierarchy structure area, edit the names of the levels and choose a different display format if necessary.
8. Click Apply.
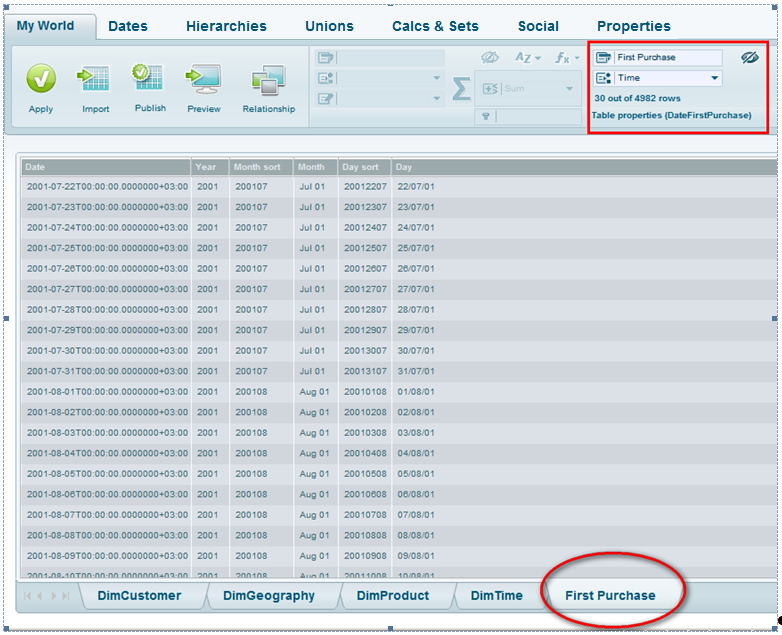
9. A new table (dimension) is now created in the model for the hierarchy you have defined. The name of the table appears in the Dates ribbon. You can edit the name of the table.
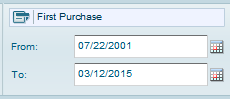
The From-To fields show the default time range the dimension will cover. You can change these dates.
10. Click Apply ![]() on the Dates ribbon.
on the Dates ribbon.
The hierarchy table is now added to My World. The hierarchy columns display with a gray background.
To remove a hierarchy:
Click the Delete ![]() button on the hierarchy tab.
button on the hierarchy tab.