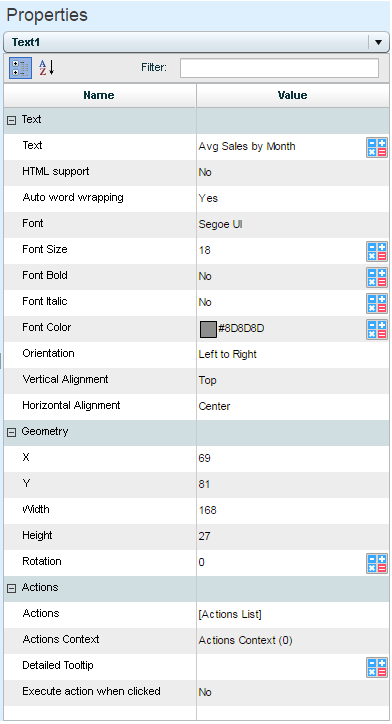
From the dropdown list at the top of the Properties Pane, select the text object whose properties you want to define.
Text
Enter the text that should appear in the graphic object. Or, use the Data Link ![]() option.
option.
HTML Support
When set to Yes, you can use HTML elements in the text object.
Auto Word Wrapping
When set to Yes, automatic word wrapping is applied to the text.
Font, Font Size, Bold, Italic, Color
Set the font, the font size, the type and color of the text. You can use the Data Link ![]() option to set a rule for changing the font attributes.
option to set a rule for changing the font attributes.
Orientation
The orientation of the text: Left-to-right or right-to-left.
Vertical Alignment
The vertical justification of the text string: top, middle or bottom.
Horizontal Alignment
The horizontal justification of the text string: start, center or end.
X, Y
The position of the container.
Width, Height
The width and height of the container.
Rotation
If the text should be rotated, specify the value of rotation in degrees. Or, use the Data Link ![]() option.
option.
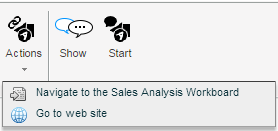
This property is used to define an action at the graphic object level. The action will be available for execution by clicking the Actions ![]() button on the Infographics tab of the ribbon in a workboard, or by clicking on the graphic object.
button on the Infographics tab of the ribbon in a workboard, or by clicking on the graphic object.
To define actions:
1. Click on Actions List and then click the down arrow.
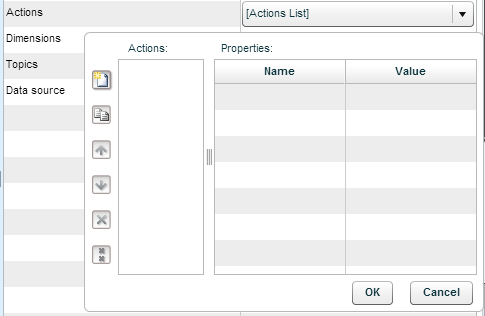
2. Click the Create ![]() button and click on the value column. From the dropdown list, select an action.
button and click on the value column. From the dropdown list, select an action.
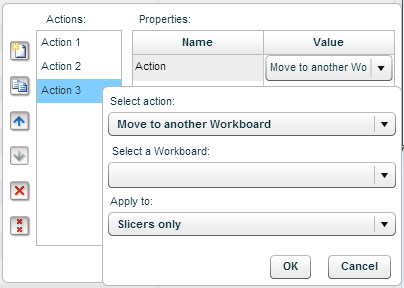
Move to another workboard
Clicking on the action will move the user to the workboard defined in this property.
Choose Move to another workboard, and in Select a Workboard choose the workboard to navigate to.
Click OK.
Open a browser window
Clicking on the action will open the specified web page in a browser window.
Choose Open a browser window, and in Enter page URL type in the page address.
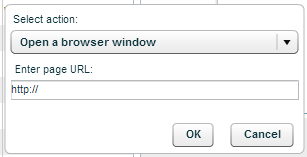
Click OK.
Execute a JavaScript expression
Clicking on the action will execute the entered JavaScript code.
Choose Execute a JavaScript expression.
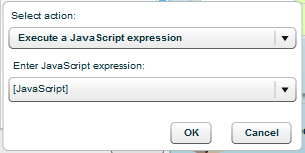
Click the arrow in Enter JavaScript expression and type in the code.
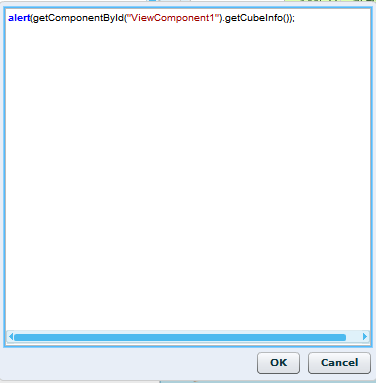
Click OK.
3. In Caption, the action’s caption appears automatically. This caption appears in the action’s tooltip. Click on it to edit it.
4. Click OK.
If the action is “Move to another workboard”, when the end-user will perform this action to move to another workboard, the current slicing in the workboard will apply to the other workboard. If you want the action to ignore the original slicing and move only certain dimension members, use the Actions Context property to define those members.
Click on Actions Context and click the down arrow.
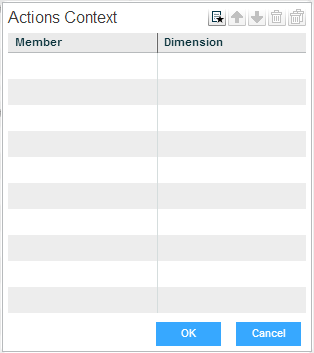
Click on the Member column and then on the down arrow. Select a dimension member.
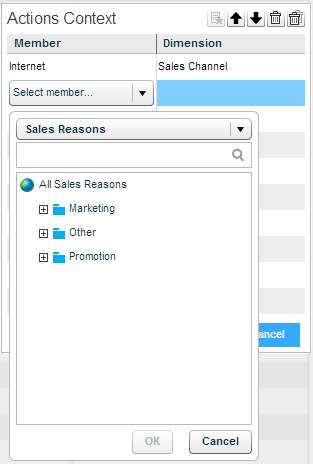
Repeat this for more dimension members. Click OK.
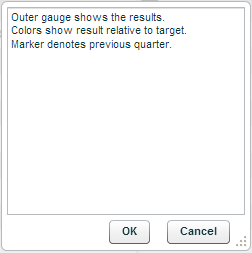
This is the tooltip that appears when the end-user hovers over the graphic object on the workboard.
Click on the value column and then click the down arrow. Enter the tooltip text in the edit box. Click OK.
You can use the Data Link ![]() option to define a rule or a custom formula to display a tooltip text.
option to define a rule or a custom formula to display a tooltip text.
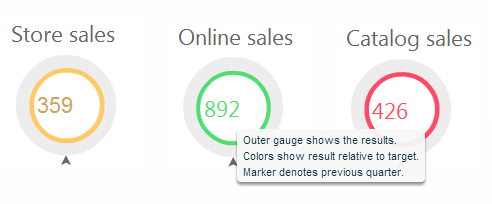
On the workboard, the tooltip will look like this:
If set to Yes, the action will be performed directly when the end-user clicks on the graphic object.