When you click on a column heading, the column options in the middle section of the My World ribbon become available.
In the Field Caption box you can change the name of the column.

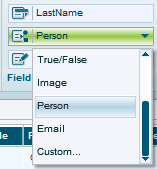
From the Field Type dropdown you can select the field type. If this is a column containing peoples’ names, Necto automatically identifies it as “Person” type. When a column is defined as “Person” the Find People option is enabled in views based on this model.
For a date column, the Field Format dropdown lists the available date formats for selection.
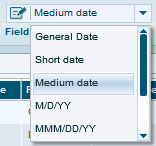
Select a format.
If you don’t want the selected column to appear in a view based on this model, click the Hide Fields ![]() option. Clicking the option again unhides the field.
option. Clicking the option again unhides the field.
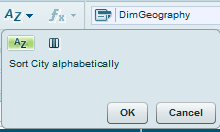
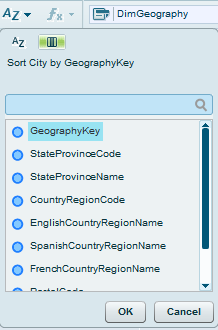
You can sort a column alphabetically or by another column. For example, you can sort the Customer column by Salary or by Birth Date.
To sort the selected column alphabetically, click the Sort ![]() option and click OK.
option and click OK.
To sort the selected column by another column, click the Sort ![]() option and then click the Sort by Field option.
option and then click the Sort by Field option.

Then, select the column by which you want to sort and click OK.
You can use the filter box to filter the columns of a table by name.
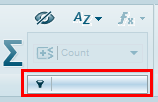
Necto dynamically displays matching columns as you type in a search term in this box.
You can set as measures the columns that contain quantitative (measurable) information needed for analysis. For each measure you can also specify the aggregation method.
To set a column as a measure, click on the column heading to select it and click the Measure ![]() option. Both the Measure button and the Hide Field
option. Both the Measure button and the Hide Field ![]() button light up in green indicating they are active. The column becomes hidden automatically. In a view based on this model, the column will not appear as a dimension, but under Measures.
button light up in green indicating they are active. The column becomes hidden automatically. In a view based on this model, the column will not appear as a dimension, but under Measures.
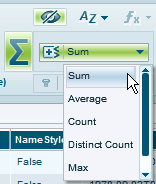
From the Measure Aggregation Type dropdown, select the type of aggregation that should apply to this measure. Sum works well in the majority of cases.
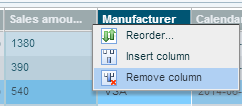
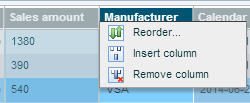
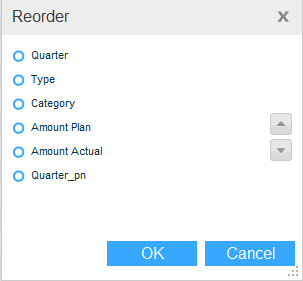
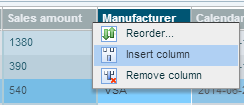
To change the position of a column, click the arrow on the column caption and select Reorder.
In the Reorder dialog box that opens, click on the column and change its position using the arrows.
Using the Insert Column option, you can add a calculated column to the table.
In the dialog box that opens, enter a Name and a Caption. Name is the string that will appear as the column’s header. Caption is the column’s “real” (MDX) name. If left blank, the caption will be identical to the name.
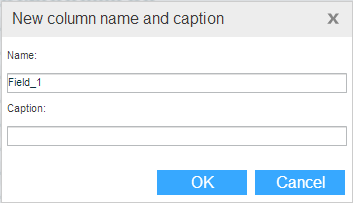
Click OK to continue to the MDX editing box where you can enter an MDX statement for creating the new column. For example, if there is a First Name column and a Last Name column, you might want to create a Full Name column.
To delete a column from the table, click the arrow on the column heading and select Remove Column.