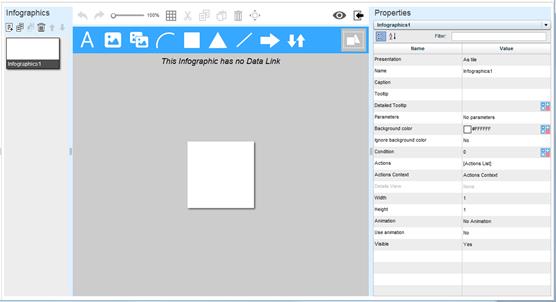
After saving a new infographics family, the Infographics Designer opens with three panes. On the right is the Properties Pane, showing the Infographics Family properties.
Define the family properties. During your work or at the end, click the Save ![]() button on the Application Bar and then the Save
button on the Application Bar and then the Save ![]() button to save the definitions.
button to save the definitions.
The full name of the infographics family.
In the edit box that opens you can enter a detailed description for the family.
This property is used to define parameters that return actual values according to the definitions. These parameters serve as global values that can be used in all the Data Links for the infographics entities of the family.
Click on Manage Parameters and then click the down arrow.
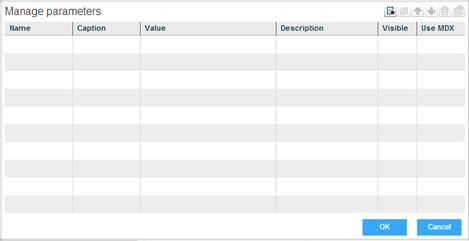
To define a parameter:
1. Click on a blank row or click the Create ![]() button.
button.
2. Enter a Name and a Caption for the parameter.
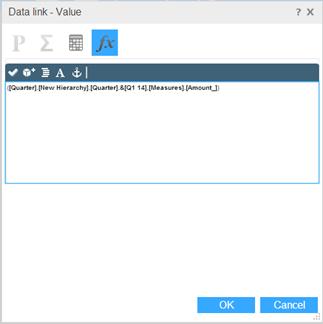
3. In Value, enter a value or click the Data Link ![]() icon to define an MDX statement that will return the parameter value.
icon to define an MDX statement that will return the parameter value.
You can also define the parameter value by specifying cell coordinates: Click ![]() , and then click the Create
, and then click the Create ![]() button and click on a member row (or double-click on a row).
button and click on a member row (or double-click on a row).
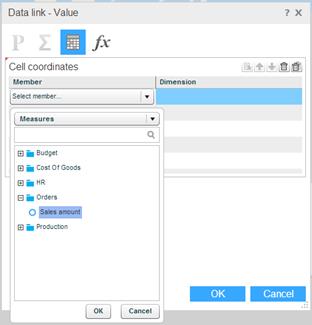
Select a member from the list of measures. Select the other dimension members in the same manner, to complete the cell coordinates.
Click OK to close the dialog box. The Data Link icon will change to ![]() , indicating that a data link definition has been created. A tooltip will show the details.
, indicating that a data link definition has been created. A tooltip will show the details.
4. Enter a Description.
5. Set Visible to Yes so that the parameter will be available for editing to end-users, via the Parameters option on the toolbar of each infographic entity in this family, in an Infographics Component in a workboard.
6. Set Use MDX to Yes so that end-users can use MDX for this parameter.
This property is used to generate animation by switching among the infographics entities of the family.
Click on the value column and then click ![]() to open the Infographics Animation window.
to open the Infographics Animation window.
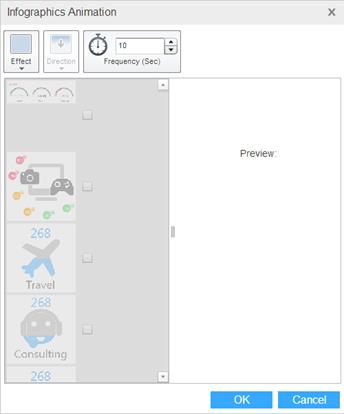
Select an Effect and the Direction of the movement. Set the Frequency in seconds.
Select the entities that should participate in the animation. The Preview pane will show the results.
Click OK.
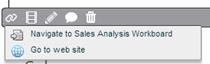
This property is used to define actions to be executed from the infographics toolbar in an Infographics Component in a workboard. The actions will be available for execution from each infographic entity in this family, by clicking the Actions ![]() button.
button.
To define actions:
1. Click on Actions List and then click the down arrow.
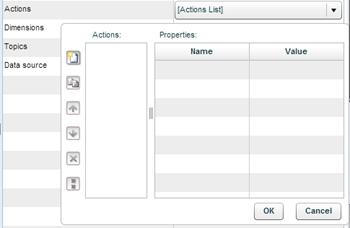
2. Click the Create ![]() button and click on the value column. From the dropdown list, select an action.
button and click on the value column. From the dropdown list, select an action.
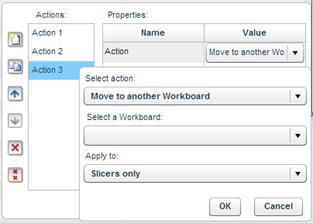
Move to another workboard
Clicking on the action will move the user to the workboard defined in this property.
Choose Move to another workboard, and in Select a Workboard choose the workboard to navigate to.
Click OK.
Open a browser window
Clicking on the action will open the specified web page in a browser window.
Choose Open a browser window, and in Enter page URL type in the page address.
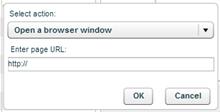
Click OK.
Execute a JavaScript expression
Clicking on the action will execute the entered JavaScript code.
Choose Execute a JavaScript expression.
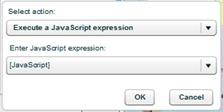
Click the arrow in Enter JavaScript expression and type in the code.
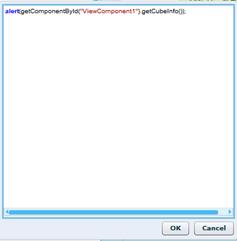
Click OK.
3. In Caption, the action’s caption appears automatically. This caption appears in the action’s tooltip. Click on it to edit it.
4. Click OK.
This property is used to select dimensions for slicing the entities of the infographics family.
Click on Select dimensions… and then click ![]() to open the dimension selection window.
to open the dimension selection window.
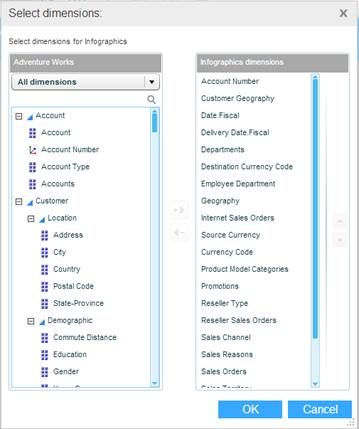
The pane on the left shows the dimensions of the data source. The Infographics Dimensions pane shows the dimensions of the infographics.
The ![]() icon indicates that the dimension is included in the Infographics Dimensions pane.
icon indicates that the dimension is included in the Infographics Dimensions pane.
The ![]() icon indicates that the dimension is not included in the Infographics Dimensions pane.
icon indicates that the dimension is not included in the Infographics Dimensions pane.
You can add and remove dimensions using the Add/Remove arrows.
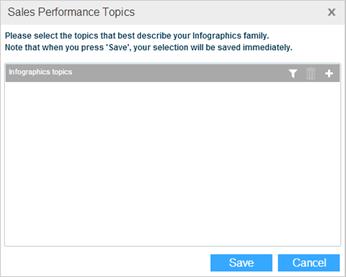
The Topics property is used to tag the infographics family with topics that best describe its content. This is similar to using the Workboard Topics option.
Click on Select topics… and then click ![]() to open the topics dialog box.
to open the topics dialog box.
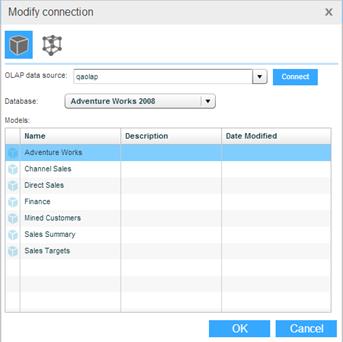
This property contains the details of the connected data source, and enables you to modify the connection.
Click on the value and then click ![]() to open the data source connection dialog box, and perform the necessary connection modifications.
to open the data source connection dialog box, and perform the necessary connection modifications.