Model creation begins in a similar way to creating a new data source: you create an empty model, name it and save it, and then you proceed to design the model.
To create a new model:
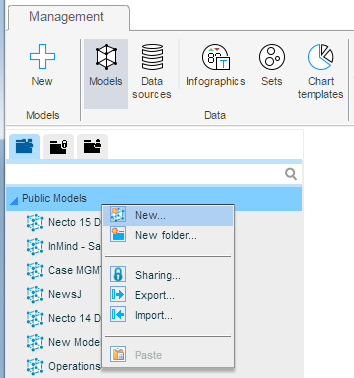
1. Click the New ![]() button on the Management page ribbon or select New from the options menu in the Models Pane.
button on the Management page ribbon or select New from the options menu in the Models Pane.
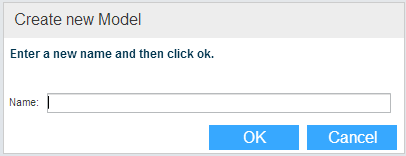
2. In the Create New Model dialog box, enter a name for the new model. Click OK.
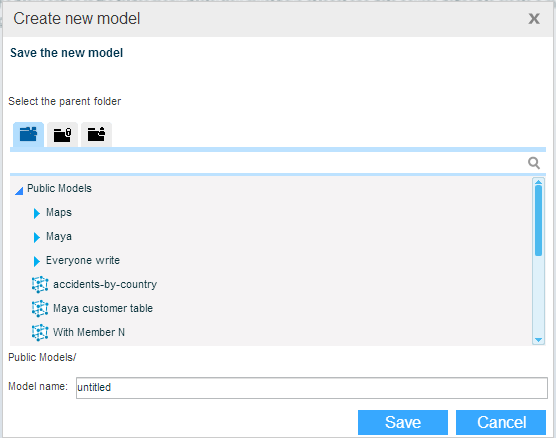
If you clicked the New ![]() button, select a parent folder for saving the new model using the Public
button, select a parent folder for saving the new model using the Public ![]() , Private
, Private ![]() or another user’s
or another user’s ![]() buttons. In Model Name, enter a name for the model. Click Save.
buttons. In Model Name, enter a name for the model. Click Save.
The new model is now added to the model tree.
3. Build the model as described in:
Defining Date & Time Hierarchies
Table Processing Options – Partitions
4. At any stage while building the model, click Apply ![]() so your changes take effect on the model.
so your changes take effect on the model.
5. Use the Preview ![]() option at different stages to see how a view based on this model will look in a workboard.
option at different stages to see how a view based on this model will look in a workboard.
6. During your work or at the end, click the Save ![]() button on the Application Bar to save the structure of the model.
button on the Application Bar to save the structure of the model.
7. At the end of your work with the model, click Publish ![]() to deploy the data and the changes to the production environment. Or, use the Scheduler (available only for administrators) to set a deployment schedule.
to deploy the data and the changes to the production environment. Or, use the Scheduler (available only for administrators) to set a deployment schedule.